SaaS Explainer, Design to Motion SOP
Jitter.video for Instant Motion Graphics. (Figma → Jitter → Handoff)
1. What Is Jitter & Why We Use It
Jitter is a browser-based motion design tool built specifically for animating UI and product designs. Its interaction model is intentionally simple and intuitive, closely resembling tools like Canva, while still offering enough control for professional motion work.
Why Jitter (and Not Other Online Motion Tools)
We evaluated multiple online animation tools. Jitter stands out for one primary reason: Direct and reliable Figma integration.
Key advantages:
Native import from Figma (no rebuilding designs)
Clean layer translation
Timeline-based animation without complexity
Low learning curve for designers and juniors
Fast iteration and revision cycles
Unlike generic online editors, Jitter is optimized for product UI motion, making it ideal for SaaS explainers where clarity and consistency matter more than complex effects.
2. Our Motion Approach
Our goal is to deliver premium-looking animations at a low turnaround time.
To achieve this, we follow a default-first approach:
Use Jitter’s built-in automation where possible
Move to manual animation only when required
3. Preparing Figma Files for Jitter
A. Final Design Prep Checklist
Before export:
One screen per frame
Final brand styles applied
Consistent spacing and layout
No unused or hidden layers
Remove unused components
Confirm final frame size (e.g., 1920×1080)
Only finalized designs should move to motion.
B. Installing the Jitter Plugin in Figma
Steps:
Open Figma
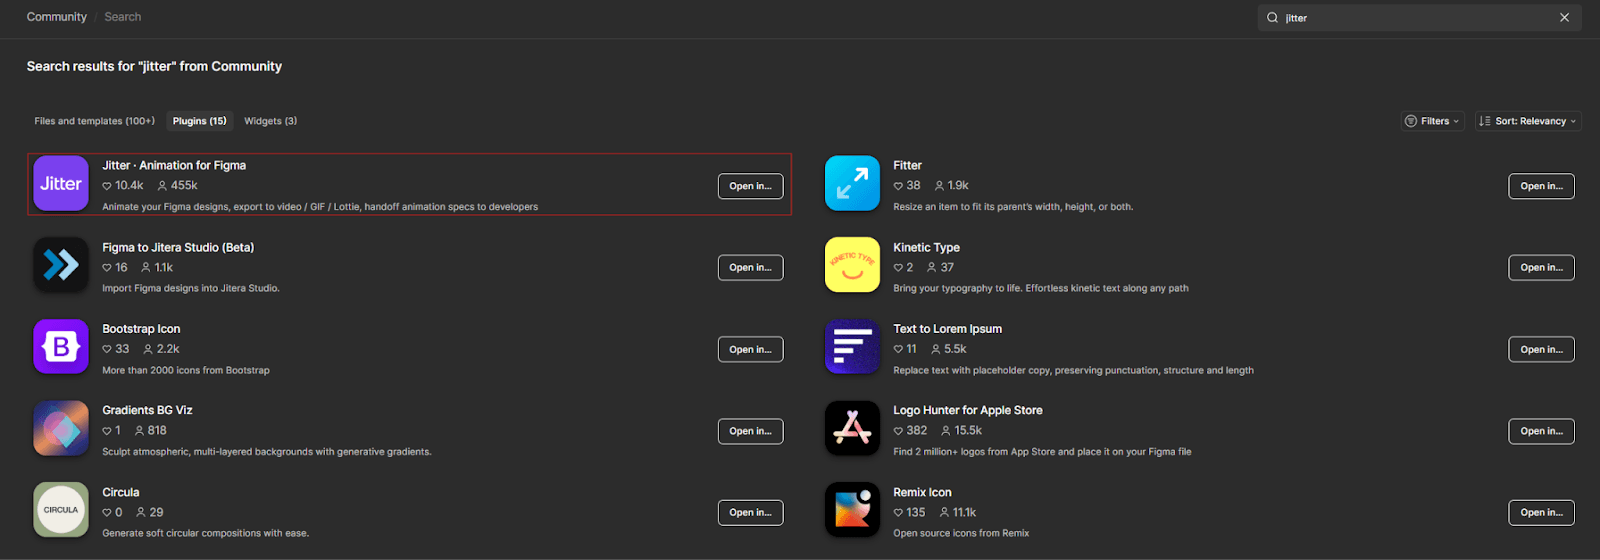
Go to Community → Plugins
Search for Jitter
Install the official Jitter plugin
This plugin enables direct transfer of frames from Figma to Jitter.
C. Sending Designs from Figma to Jitter
Steps:
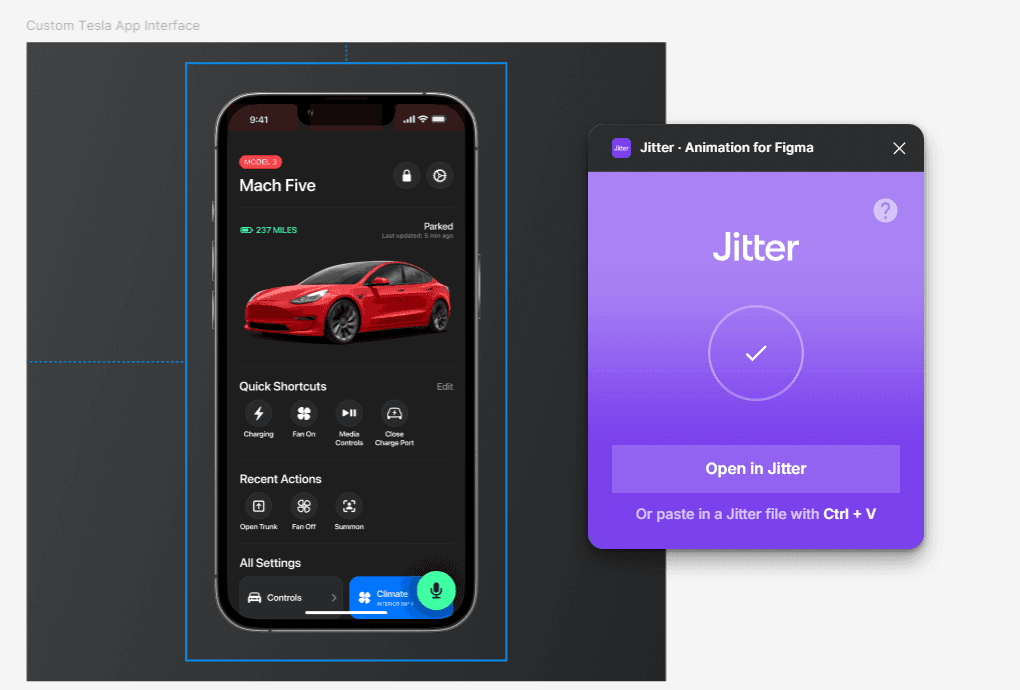
Select the frames you want to animate
Run the Jitter plugin
Send the selected frames to Jitter
Open the project in Jitter (browser)
Best practices:
Send screens individually when sequencing matters
Ensure animation-critical elements are not grouped
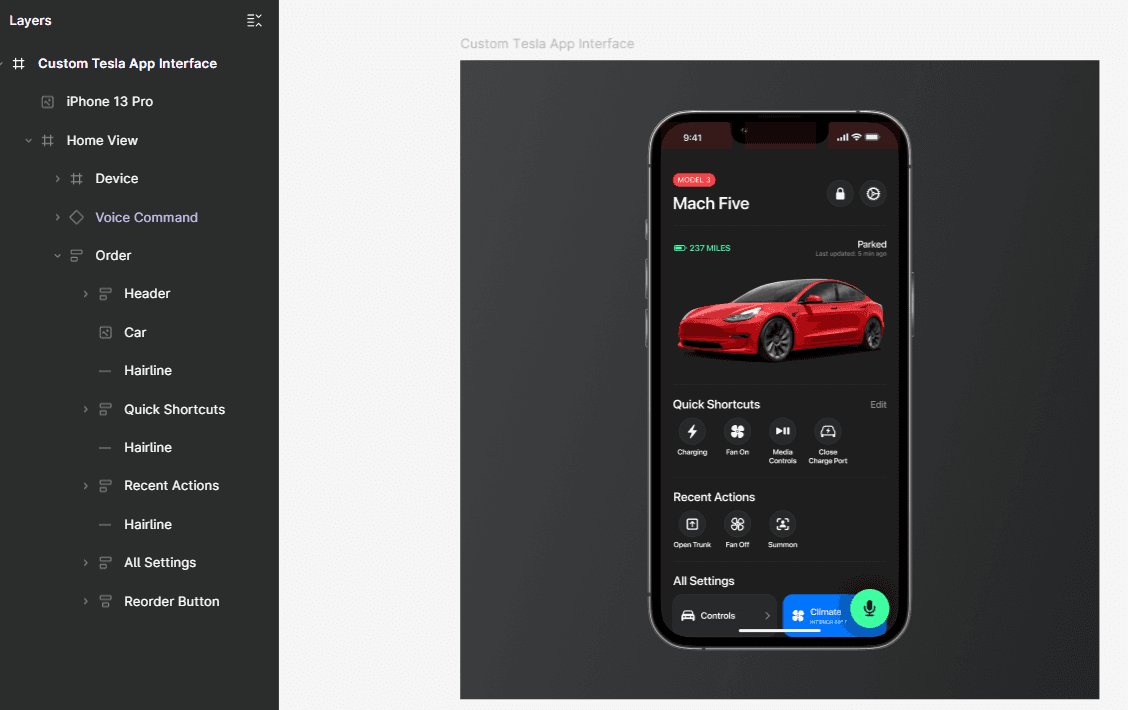
Verify layer structure after import
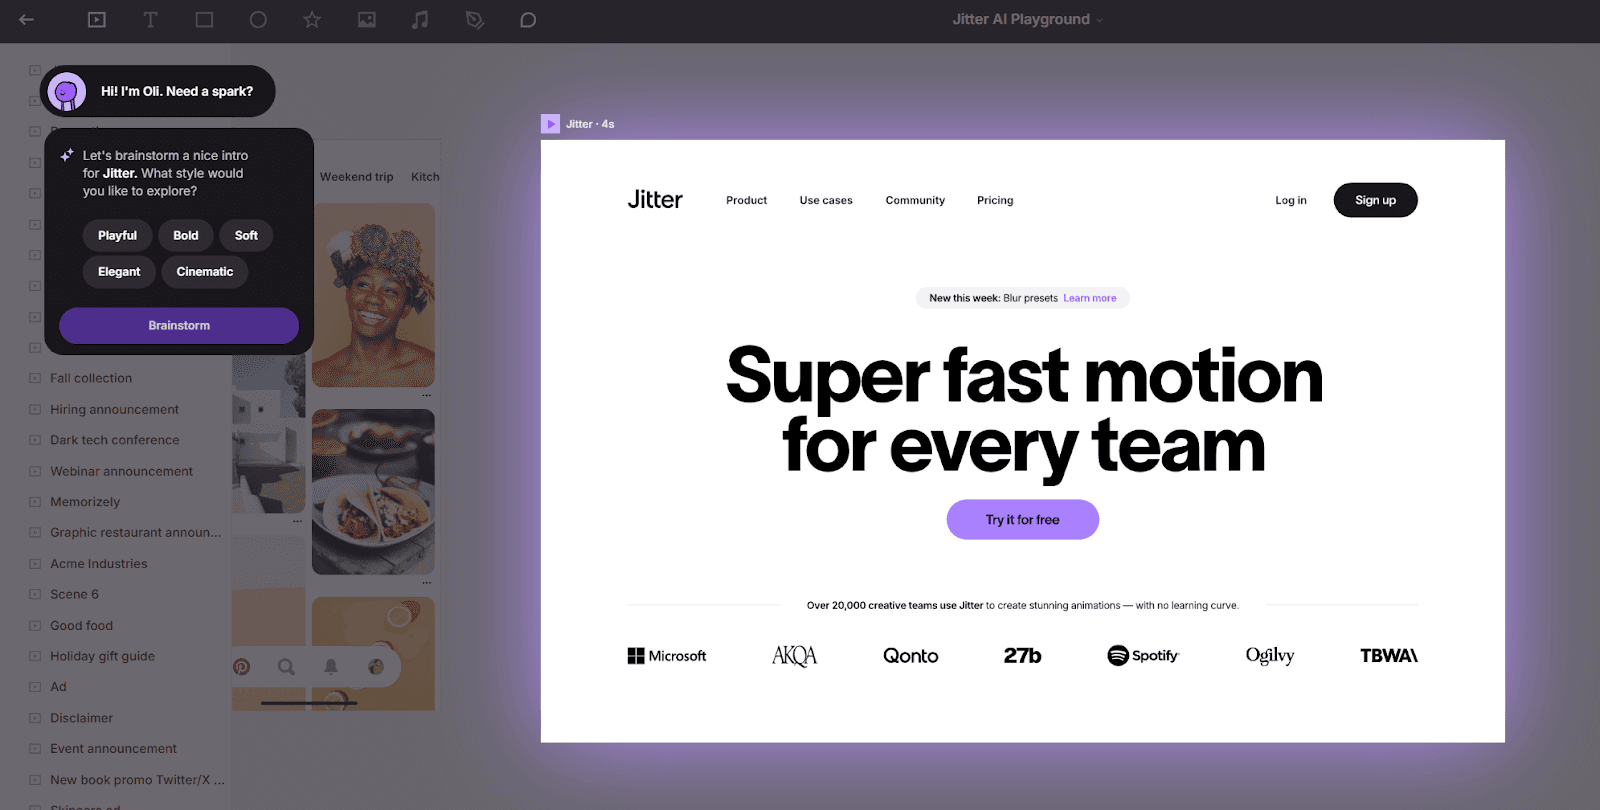
4. Default Animation Method: Spark Animations
What Is Spark?
Spark is a built-in Jitter feature (spark icon at the top of the frame) that automatically generates ready-to-use animations for a frame or selected elements.
Spark provides:
Pre-built animation structures
Multiple style options to explore
Clean, production-ready motion
Why Spark Is Our Default
For most SaaS explainer projects, Spark animations are sufficient and preferred.
Using Spark:
Saves significant production time
Eliminates repetitive manual animation
Ensures consistency across screens and projects
Allows faster iterations and feedback cycles
For approximately 70–80% of use cases, Spark animations are final and do not require further adjustment.
Spark animations are suitable when:
UI transitions are simple and functional
No brand-specific motion language is required
The client has not requested custom animation behavior
In these cases, Spark animations should be treated as final output, not placeholders.
5. Manual Animations (When Needed)
Manual animation is used only when Spark does not meet project requirements.
Typical reasons include:
Client-requested custom motion
Brand-specific timing or easing
Complex UI storytelling
High-visibility or exceptional projects
Manual Animation Workflow in Jitter
Jitter’s manual animation system is simple and similar to Canva-style timelines.
Key characteristics:
Each element has its own timeline
Animations are applied per element
Timing is adjusted by dragging on the timeline
No advanced node graphs or heavy keyframing
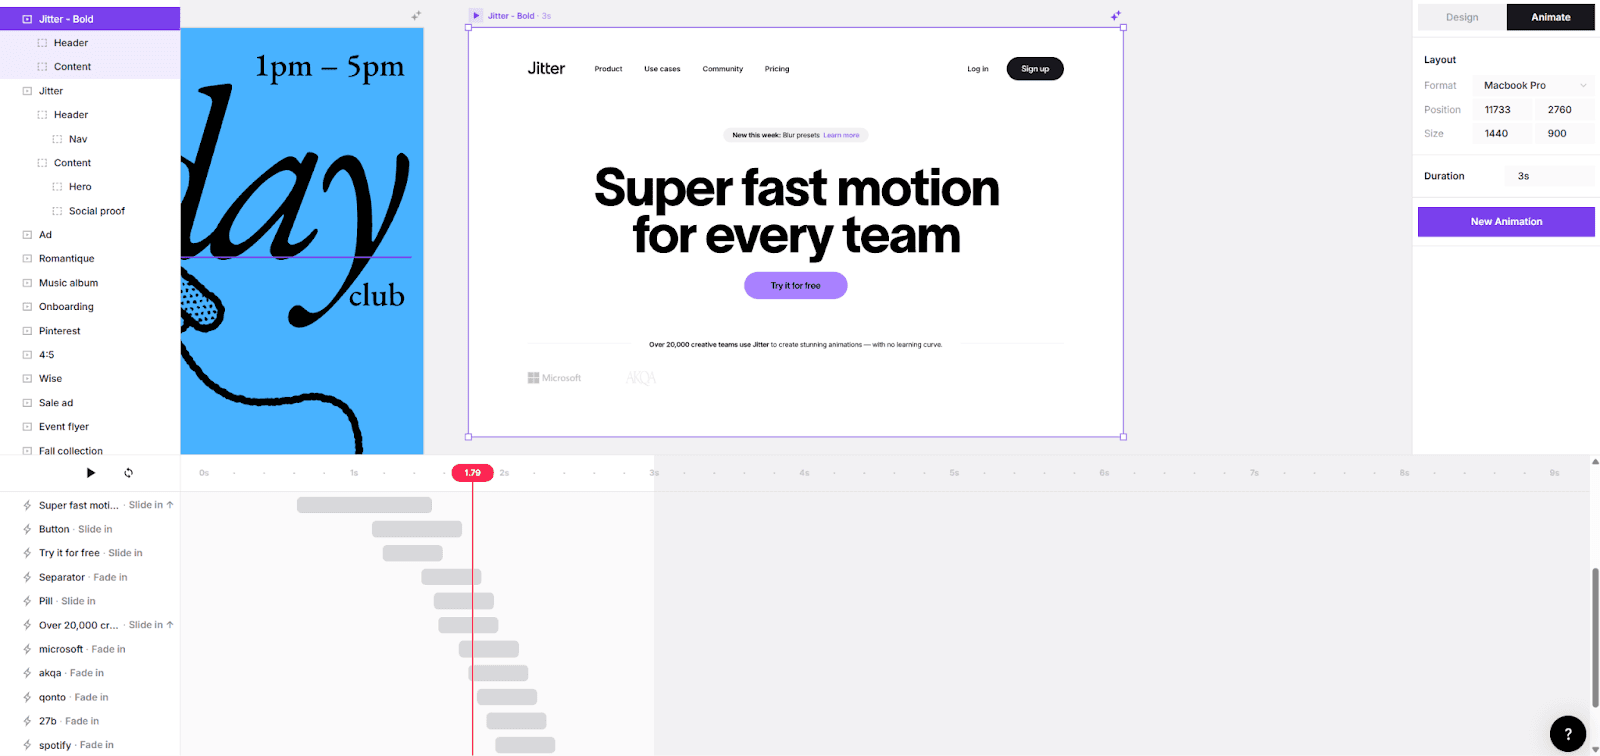
This allows quick control without the overhead of traditional motion software.
6. When to Stop Animating in Jitter
Jitter is used for core UI motion.
Stop in Jitter when:
UI animations are complete
No complex transitions are required
Motion clearly communicates the interaction
Move to advanced tools (e.g., After Effects or editing software) only for:
Scene transitions
Brand moments
Advanced compositing or effects
7. Export & Handoff
Once motion is complete in Jitter:
Export animations using approved formats and settings
Follow naming and folder structure standards
Verify playback at final resolution
The exported Jitter animations are then:
Imported into After Effects or
Any other editing software used in the project
These tools are used for:
Final assembly
Transitions
Sound design
Overall polish
Jitter outputs should be treated as motion-ready assets, not drafts.
8. Final Principle
Our Jitter workflow is designed to deliver high-quality SaaS explainer motion efficiently. If this SOP is followed, animations should require minimal revisions and minimal guidance.